Bookart 6 - Create your own pattern
© Copyright crafts.knutselidee.eu
 In this section on book folding: making a pattern with a spreadsheet.
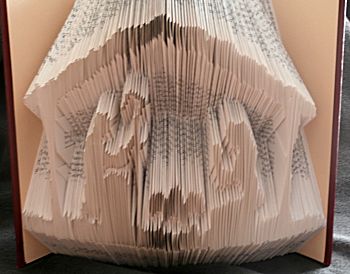
 It is a bit difficult making a pattern but not too difficult. The difficulty is in the problem with relationships. The height/width ratio is hard to figure out. For some models if you make a dachshund then the final result should be a long dog and not a pressed dog. Unfortunately you not always succeed right away to get it right because the extension of the book after folding sometimes goes further than you would like. Generally, your image should be slightly wider than high. Thereby counting the white edges too, so the image of a dachshund has more white borders above and below the image to be something wider than high!
First, you obviously need a picture. This may be an image from the Internet, or a self-signed image. Texts is also possible. Fot text first make a drawing of it.
At least make sure that you save the image without too many edges around it. The outer edge must meet four sides around the figure that you want to create .
What you need to know is how high the figure in your book is going to be. So the height of your book with 4 to 6 centimeter less because the figure should never touch the edge. Is your book so 23 centimeter high then your pattern on the A4 should be about 23 minus 6 is 17 centimeters.
And of course you know the number of pages in your book so you know how many folds in your pattern are to be made.
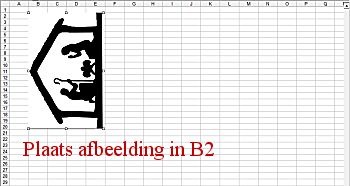
Make the image in a drawing program and turn it 90 degrees ans then copy and paste it into a cell (B2) of your spreadsheet.
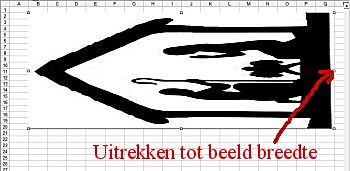
Stretch the image to the right, it does not really matter how much. (The width of your screen is usually enough.)
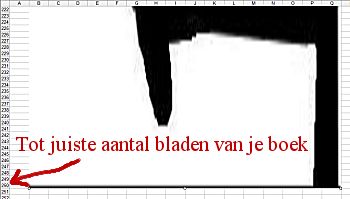
Stretch it down in your spreadsheet, to the row that equals the number of pages that you have in your book. So for example, row 250 for making 250 folds in your book .
For printing you need to set some printer settings.
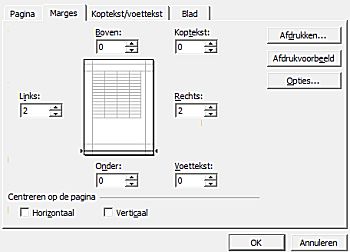
The margins for the page you put up and down to 0 and the left and right set on for example, 3 centimeter. These can be slightly larger or smaller depending on the pattern height in the book.
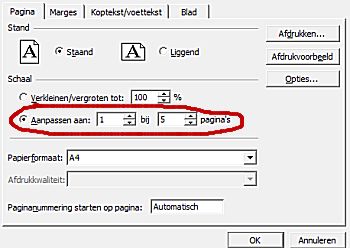
Also you can set the print ratio of 1 to 5 pages so that the width is never more than 1 page. But the length of your image is placed over more pages if required.
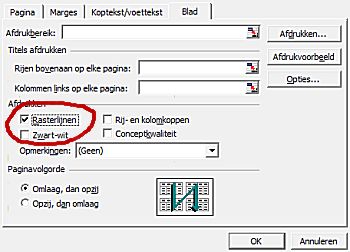
Also printing the cell lines must be turned on because you need those lines for folding.
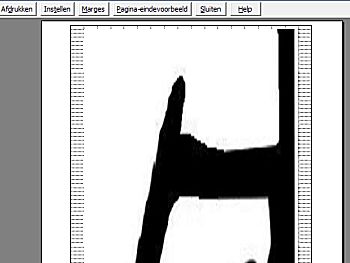
Then you put it on print preview and see if its ok. Probably not right away at once and you have to change some things .
If everything is OK then you can print the pattern and go to work.
When is it OK?
The width should be at least the width of the book. So if you have 17 centimeter it should have this also in the preview. The white of the A4 sheet you see is 21 centimeter wide.
Furthermore, the left and right grid lines are visible. These are the lines that you later use to fold.
You will also go up and down here all along the pattern to see there will be no strange things that are difficult or not to fold. In a pretty picture you will not notice it.
To make things even clearer you find here a (dutch) video with all the steps for making your own pattern to fold a book.
Remember to follow book folding art Part 1 before you start the book folding.
For folding there are several extra tips. These can be found in Bookart 7 - Several tips for bookart of this series of bookart.
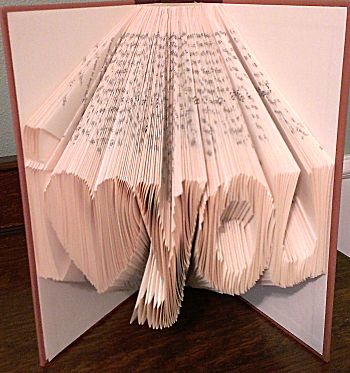
Foto by: Gail Kamper
Hint
- This series starts on the page Bookart 1 - Supplies
© Knutselwerkje van crafts.knutselidee.eu


