BookArt 4 - A hole in a folding pattern
© Copyright crafts.knutselidee.eu
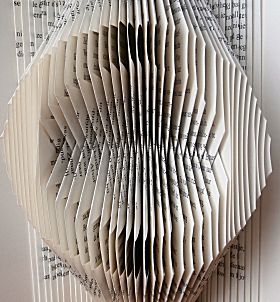 In this section you will find the explanation of a pattern with several black areas above each other, like this ring as a simple pattern.
 How to fold a completely closed pattern you see in Bookart part 2 and in this part we do the same, only with a hole in it. Above and below is a bond so you need to use multiple folds. It is not intended that you cut into the sheets. It is only done with folds.
This kind of parts you find in many patterns and sometimes even multiple layers one above the other. The letter E, for example, has 3 layers.
There are three ways of folding this book folding art.
Option A:
Per site in the folding pattern just use two pages. This gives a more stretched pattern because you use more pages. For some patterns this does not matter much. Especially if it is on a few places. And if you make the pattern with double blades in mind, it is even intended that you do it.
It's also true that the farther the folds are apart, the less you're stretching your pattern.
Option B:
This way you fold in first place in the pattern of the bottom bar, then normally move to the next place and fold the second plane. The disadvantage is that this gives for small details in your figure a blur in the result. Keep this in mind when you are going to make a pattern.
Option C:
And this is to combine the two previous options. That depends a bit on the pattern and the amount of pages you have in the book.
You simply can make small details in your pattern with option A and other parts can you do using option B. If you get more experienced in folding you see which is the best option.
Do you have enough sheets in doubt, you can both share and option A folding and if the excess is stretched even remove pages later.
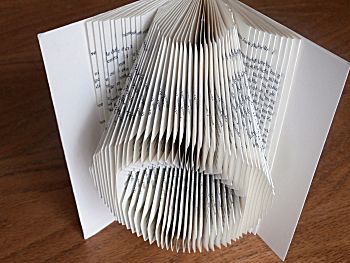
So now try the ring pattern .
So here you need a new pattern. Click here to open the pdf with bookart small ring and print it on a A4.
Lay the pattern next to the bar as in Part 1 discussed in Book Arts .
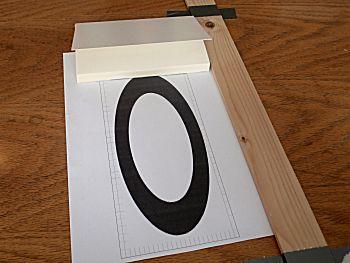
The pattern is designed to operate under Option A of this part and you'll need about 60 sheets that have to be folded .
So calculate using the example in section 2 where to start folding.
You can now choose whether you fold as in section 2 (to the inside) or that you fold all sheets at 45 degrees so as described in option B in Part 3 of this series of book art.
In the video below you can see that there is folded at 45 degrees .
Now we do the same as previously done so by now we fold at every place two sheets.
At the end of two exactly the same fold in one place and at the top and bottom of the ring we fold at 1 place the bottom and with the next fold the top of the next sheet. See the examples on the pictures:
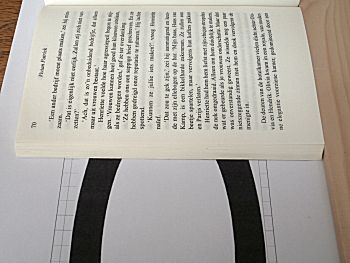
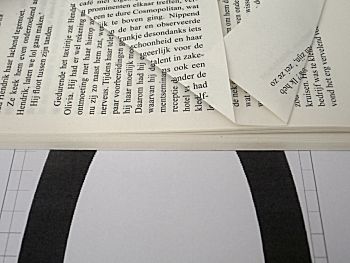
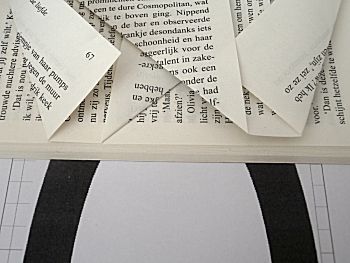
And so on until you fold the entire pattern.
Below is a video with all further steps to explain how books are fold to bookart The different parts that you encounter with texts made ??clear in the video.
You only have one figure and no pattern with lines then it is also possible to fold a book. How that works you can read in Book Art Part 5 - Alternative to line pattern
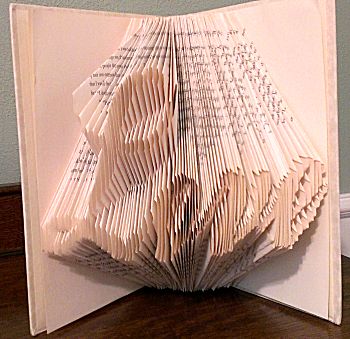
Foto by: Gail Kamper
Hint
- If you want you can also move the pattern a half space in the parts instead of two times the same fold, so that there is formed a small difference between the folds. (As seen in the video)
© Knutselwerkje van crafts.knutselidee.eu


